Working with Images (inserting, resizing, justifying)
Assemble makes it easy to work with images. You can add images directly into content modules in several ways:
- By creating a 'gallery' content module (see our Adding and Editing Content Modules help topic)
- Or by directly uploading an image into a content module.
In your left-hand navigation bar in your Assemble dashboard, visit Content -> Webpages
Locate the page you wish to edit, and click edit. You will now find yourself in the individual page editor.
Locate the content module in which you want to insert and image, and click edit. You are now in your content module editor. If creating a new content module, be sure to select the 'text and images' functionality. TO UPLOAD AN IMAGE
Select the 'Edit' on the content module in which you want to add an imag.
If you already have text in the content and want the image at a certain point in that text, place and click the mouse where you want it.
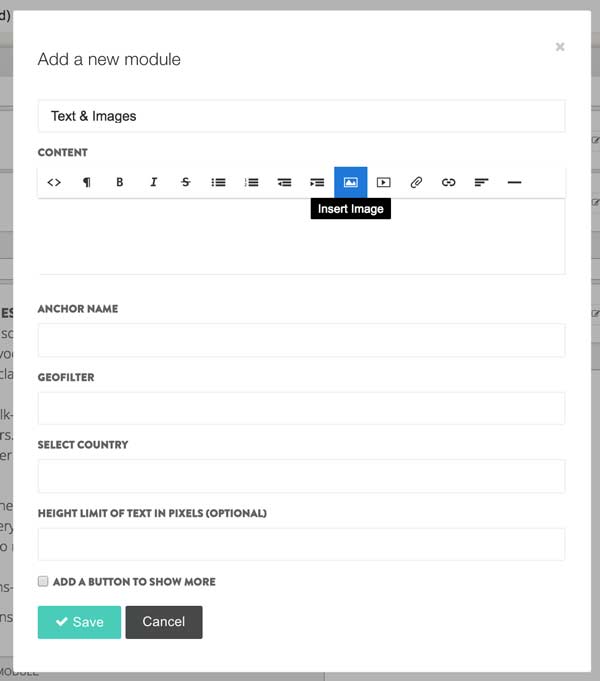
Select the picture symbol in the toolbar. This symbol is the little tree second from the end.This will bring up another window for you to upload your image.

You can drag the image into the image box directly from your website, or click 'choose' to select an image you have already uploaded.
The image selected will pop into the content module.
Resizing Images
Resizing an image in a content module is easy: It's simply a question of dragging the corner of the image.
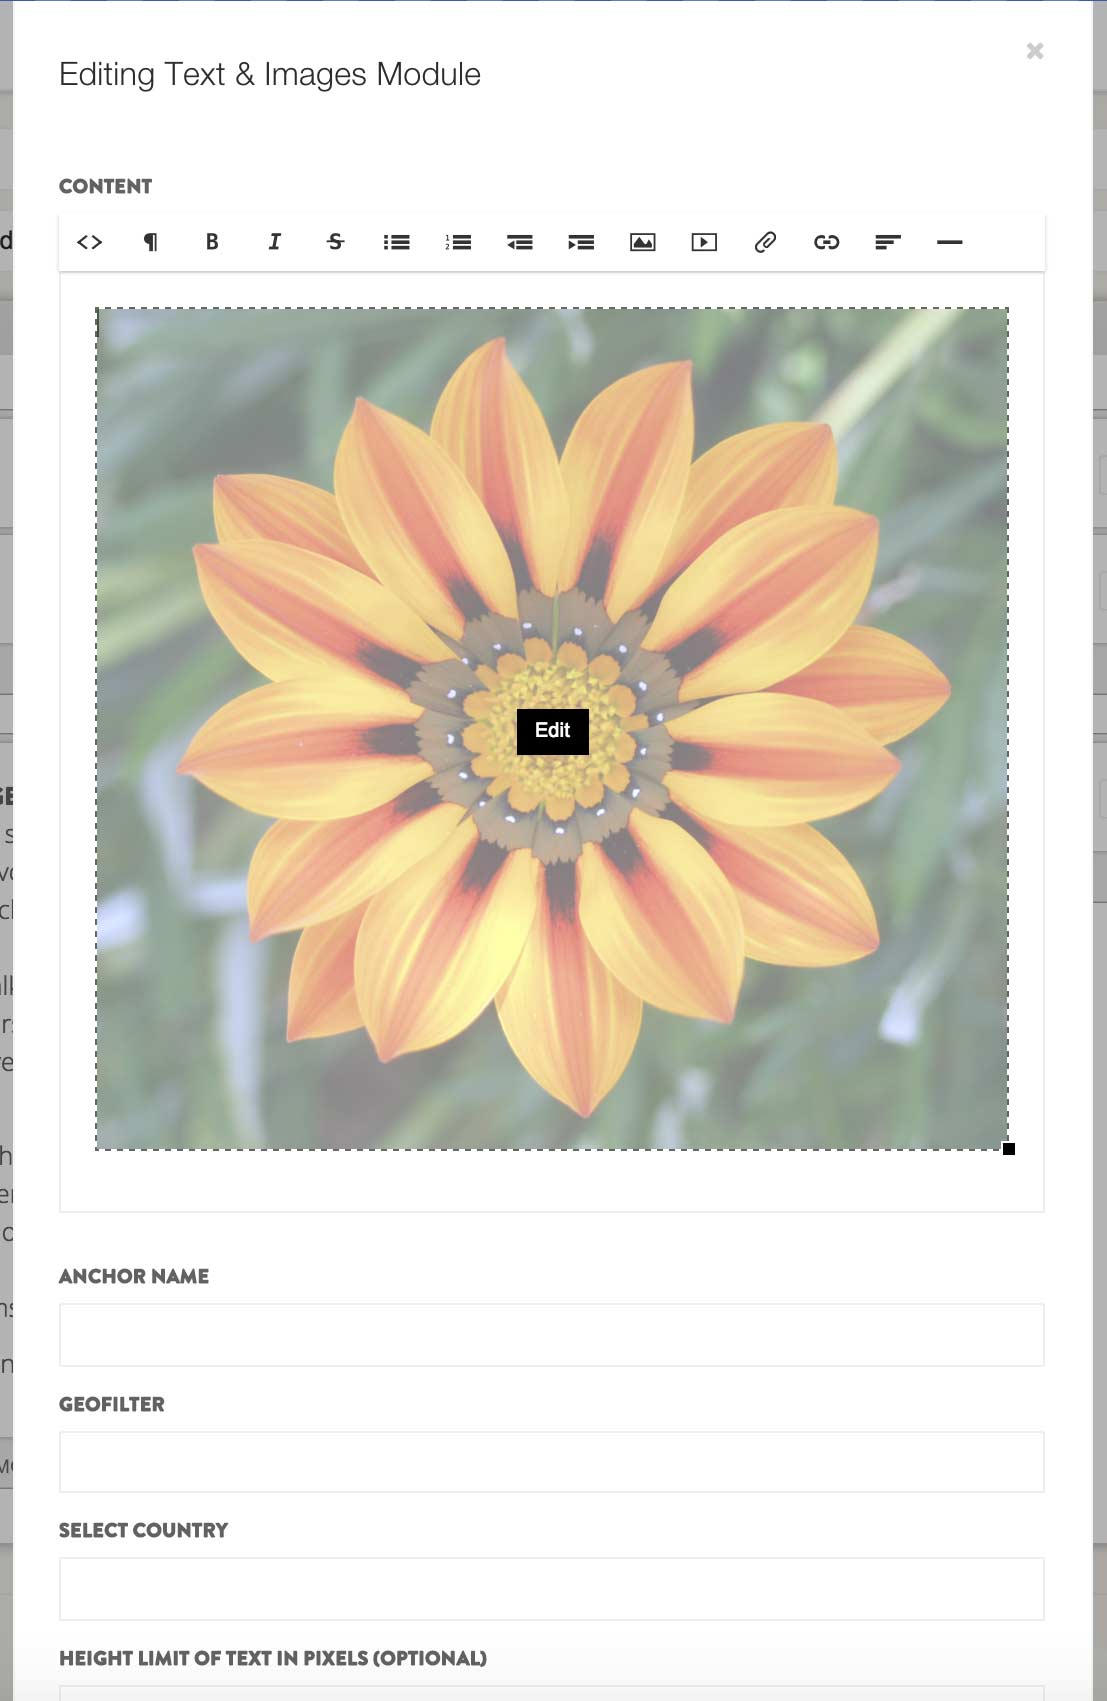
Click on the image - a little black 'edit' button will appear, as well as a handle on the bottom right of the image.
Click on the handle and drag the image into your desired size.
Save.

IMAGE SETTINGS
Once your image is inserted, you can work with the settings by clicking on the image, and clicking on the little black 'edit' button.
This opens a dialogue box.

Here you can give your image a title (for SEO)
You can assign a link to the image (when the image is clicked on your site it will open this link)
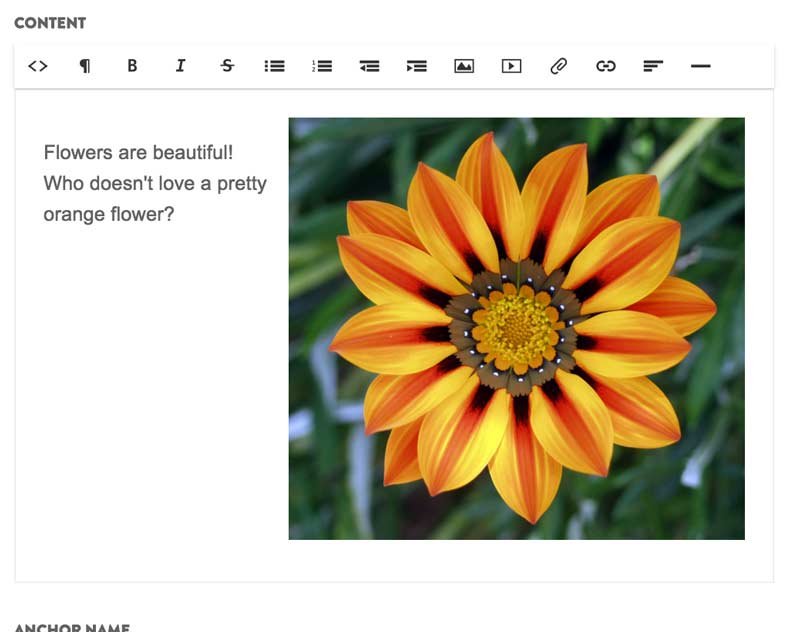
And you can positiion the image in the content module. If you select 'left', for instance, the image will nest to the left of any text. If you choose 'right', the image will next to the right of any text. If you choose 'middle', the image will be centered, with text above and below it.

Reviewed: April 2020
