
-
Adding a Button
In the left hand navigation bar on your Assemble dashboard, visit Content -> Web Pages
This brings you to your main pages editor dashboard. Click 'edit' next to the page that you wish to edit, and this will bring you to your individual page editor.
Assemble pages are made up of discrete blocks of content we call content modules. Each content module can contain anything you want, be it a shop, a list of upcoming screenings, an image, a gallery, text or a button! See the help topic 'Adding and Editing Content Modules' for more about content modules.
Adding a Button
In your individual page editor, select 'add new module'
In the drop down-list at the top of the content module editor, select 'button'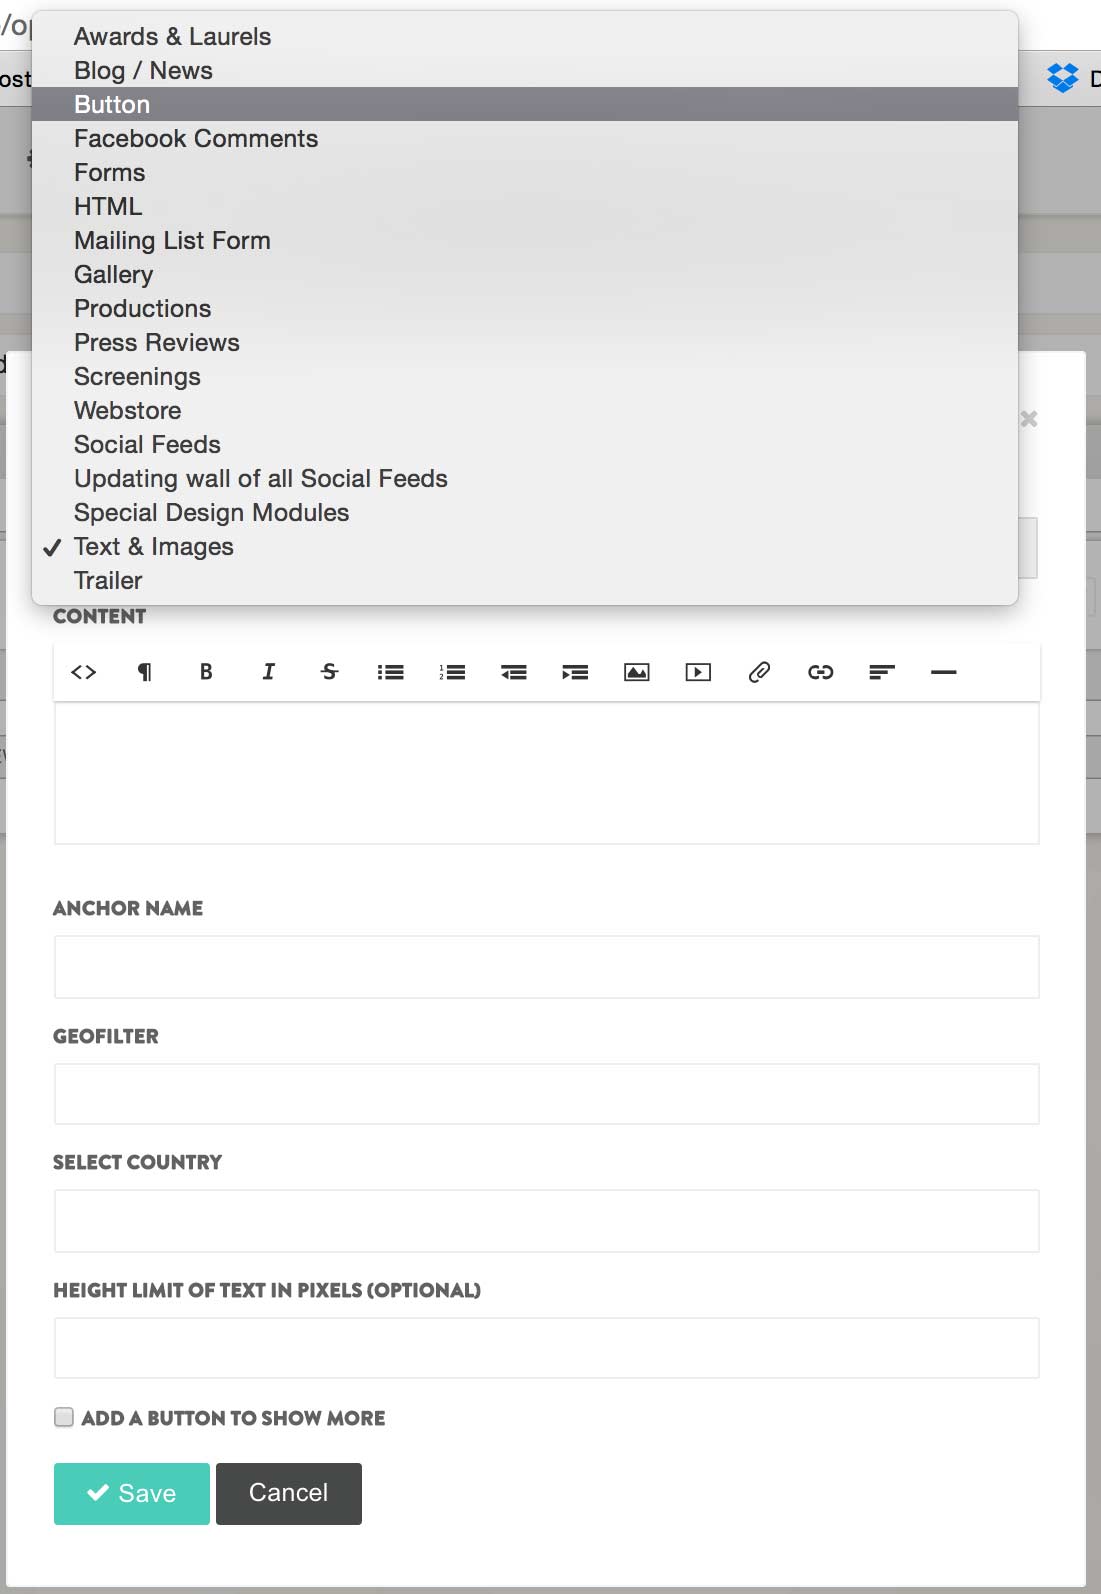
Adjusting the Button Settings
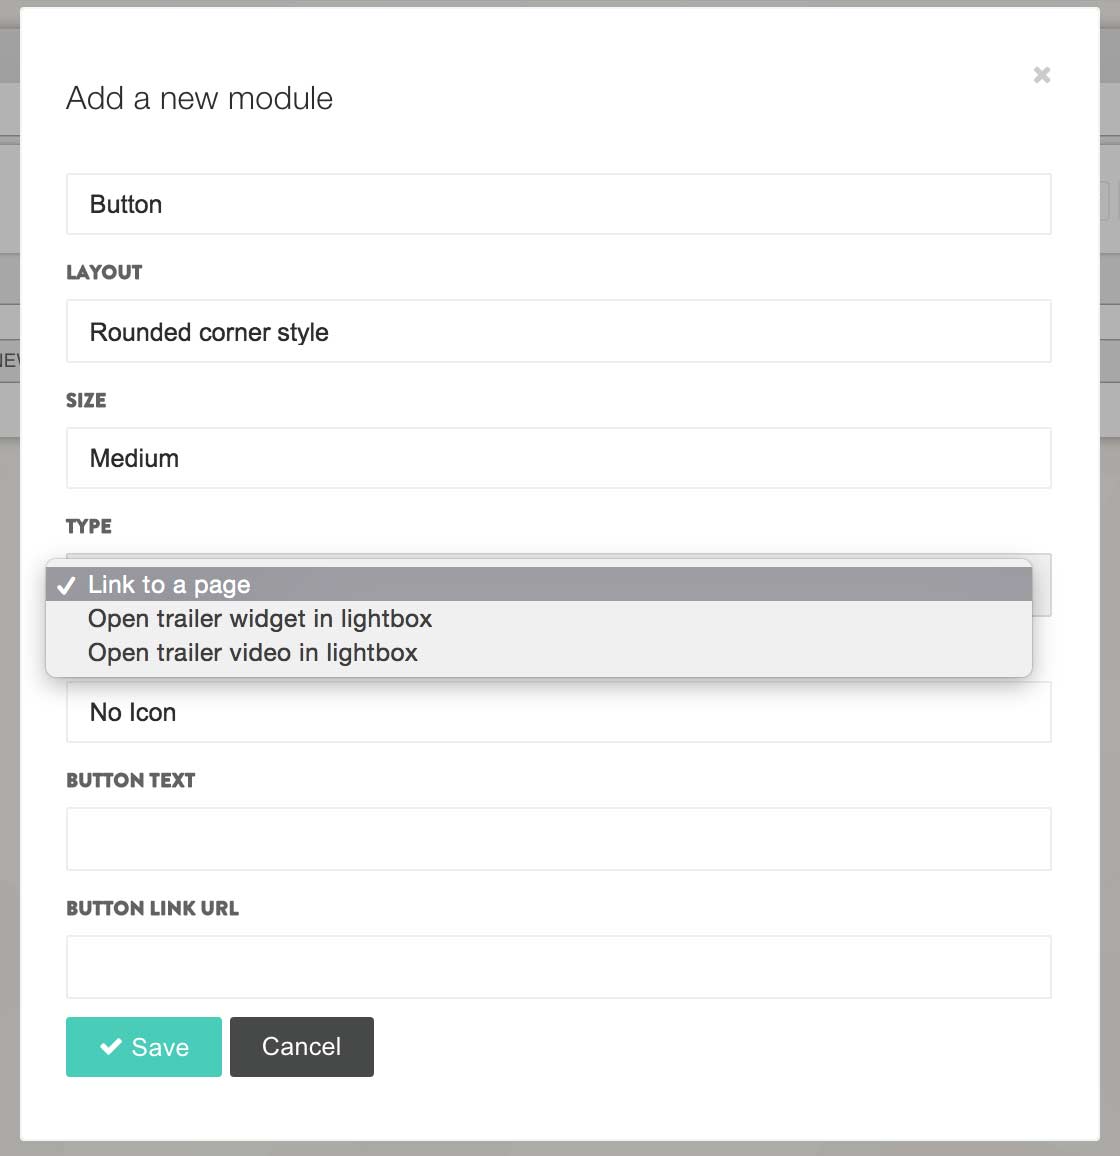
Layout: This is where you can select the type of button to appear:
- 'Vimeo on Demand Style with Logo' will pull the Vimeo on Demand logo into the button design - Great if you are using the button to link to a trailer on Vimeo
- 'Rounded Corner Style' will create a button with round corners.Size: This is where you can select the size of your button
Type: This is where you can select how your button works
- Link to a page: A standard link, which opens a new page
- Open trailer widget in lightbox: The opens the Assemble trailer widget in a pop-up box
- Open trailer video in lightbox: This opens the trailer video without the widget functionality in a pop-up boxIcon: Here you can select if you wish to have an icon appear on your button
- No icon: This creates a simple button
- Play Icon: Adds a little play triangle to your buttonButton Text: This is where you enter the text for your button. Keep it simple and short!
Button Link URL: If you select 'Link to a page' under 'Type', this is where you would place that link. Be sure to include the http://
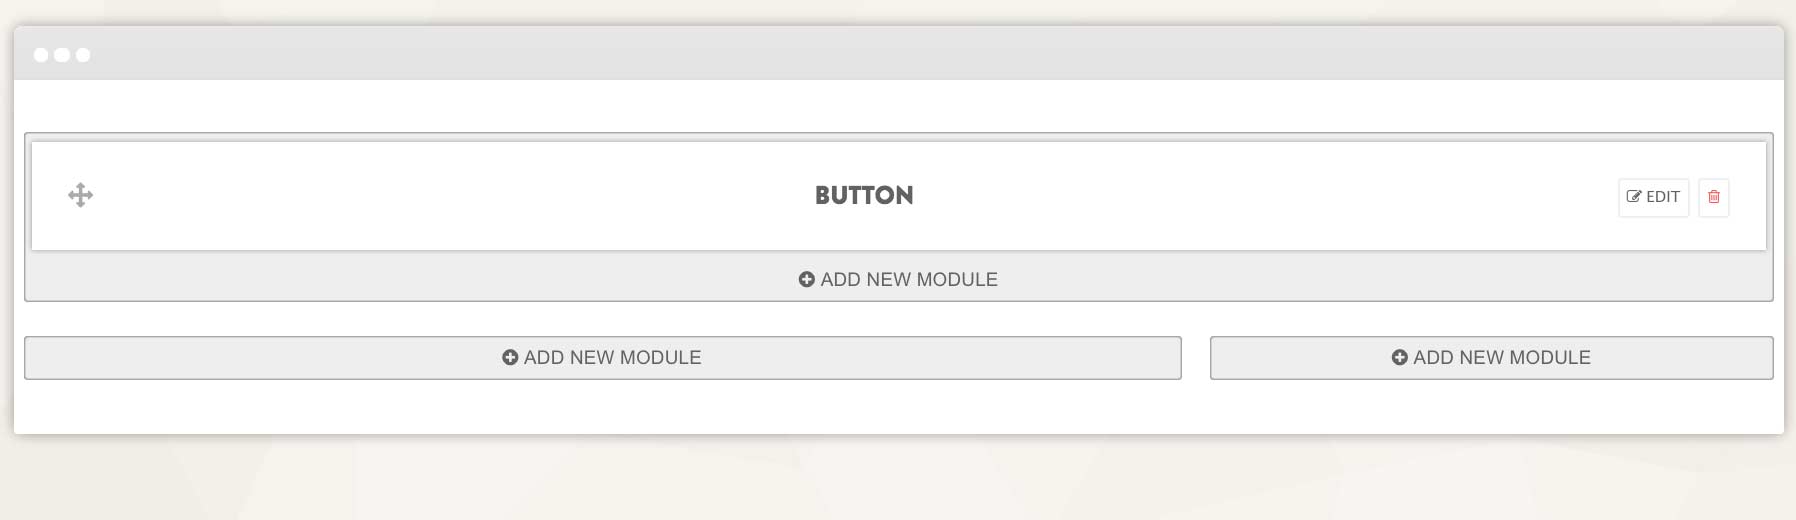
Save the content module. The button will now appear in the page editor as a module that says 'Button'
Don't forget to save your page!
Reviewed: April 2020
Continue reading -
Create a Link
In the left hand navigation bar on your Assemble dashboard, visit Content -> Web Pages
Select the 'Edit' option of your desired page.
ADDING A TEXT LINK
1. Click edit on the content module in which you wish to add the link. Make sure it's the 'text + images' content module.
2. Type a directive sentence that will become the link.
3. Highlight the image or sentence/word, and select the chain symbol in the toolbar.
4. This will bring up another window, in which you can either link to a page on your Assemble site, or add the URL for an external website.
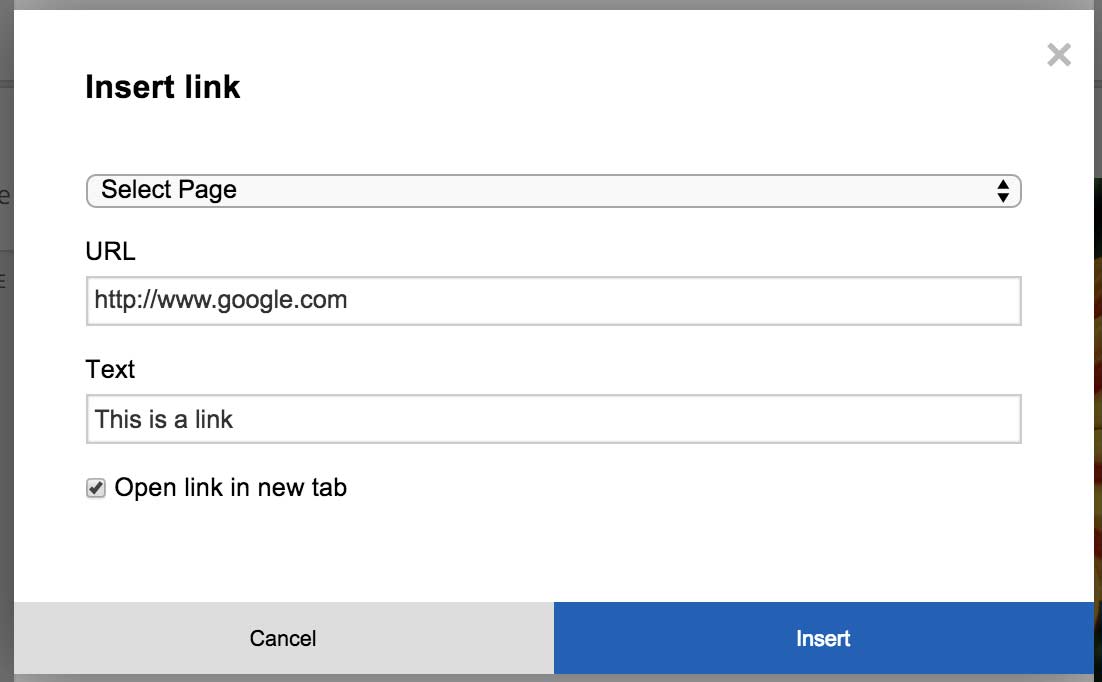
5. If you want the link to open in another tab, click in the "Open link in new tab" tick box
6. Click "Insert". This will place the link into the highlighted area.ADDING AN IMAGE LINK
1. Click edit on the content module in which you wish to add the image link. Make sure it's the 'text + images' content module.
2. Add the image (see our help module on adding images) or select the image you wish to become a link and click 'edit'
3. Add the link in the image edit field
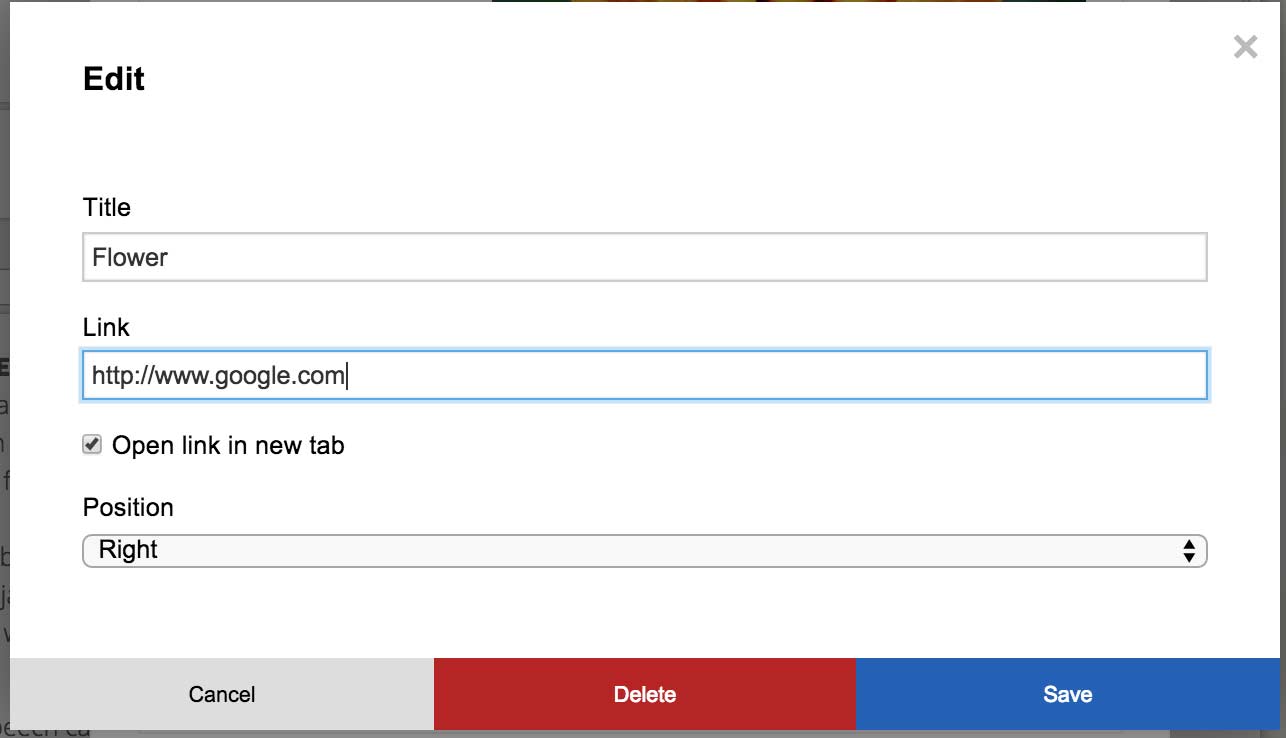
5. If you want the link to open in another tab, click in the "Open link in new tab" tick box
6. Click "Save". Your image is now a link!
Don't forget to save the content module, and the page.
Updated: April 2020
Continue reading -
Linking to a file
To link to a file like a .zip or .pdf press kit, visit Content -> Web Pages
Click edit on the page in which you wish to add the link
Click edit in the content module in which you wish to add the link
Then
Add an image or type a directive sentence that will become the link that people will click on.
Highlight the image or sentence/word, and select the chain symbol in the toolbar.

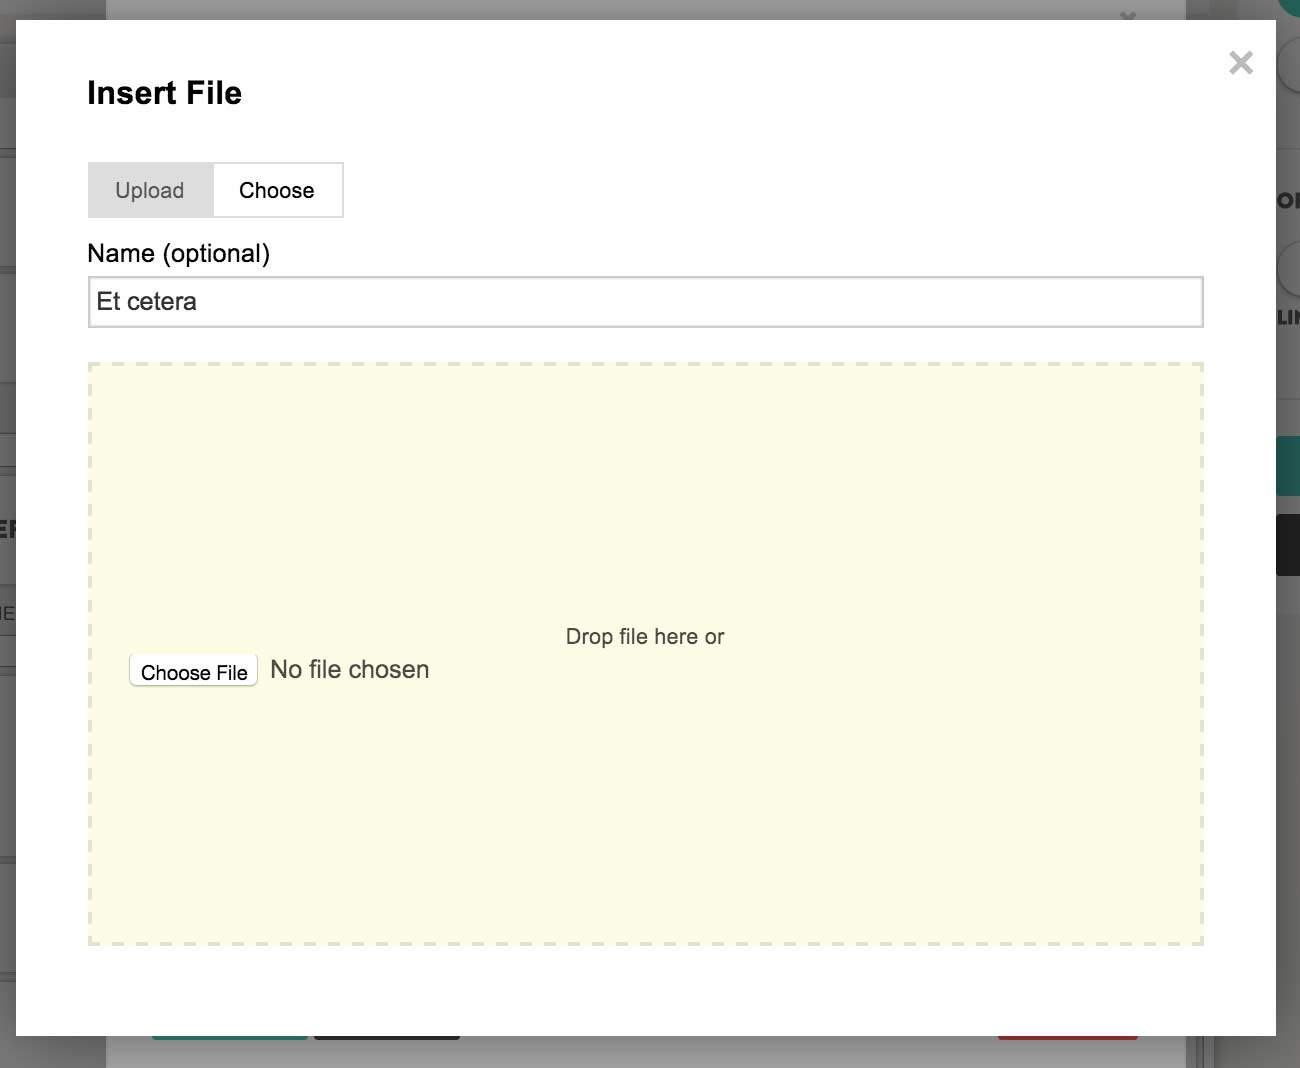
A new window will now open: In this window you can either drag the file, browse your desktop to locate the file, or click 'choose' to link to an existing file on the system. Select your file and the link will be created.
Save your content module, and scroll down to save the page. Your link is now live!
Reviewed: April 2020
Continue reading -
Working with Images (inserting, resizing, justifying)
Assemble makes it easy to work with images. You can add images directly into content modules in several ways:
- By creating a 'gallery' content module (see our Adding and Editing Content Modules help topic)
- Or by directly uploading an image into a content module.
In your left-hand navigation bar in your Assemble dashboard, visit Content -> Webpages
Locate the page you wish to edit, and click edit. You will now find yourself in the individual page editor.
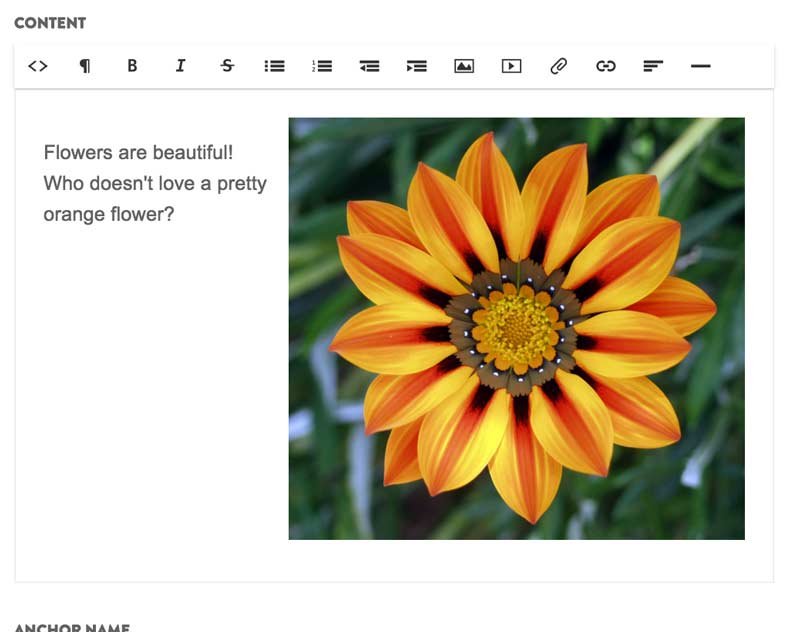
Locate the content module in which you want to insert and image, and click edit. You are now in your content module editor. If creating a new content module, be sure to select the 'text and images' functionality. TO UPLOAD AN IMAGE
Select the 'Edit' on the content module in which you want to add an imag.
If you already have text in the content and want the image at a certain point in that text, place and click the mouse where you want it.
Select the picture symbol in the toolbar. This symbol is the little tree second from the end.This will bring up another window for you to upload your image.
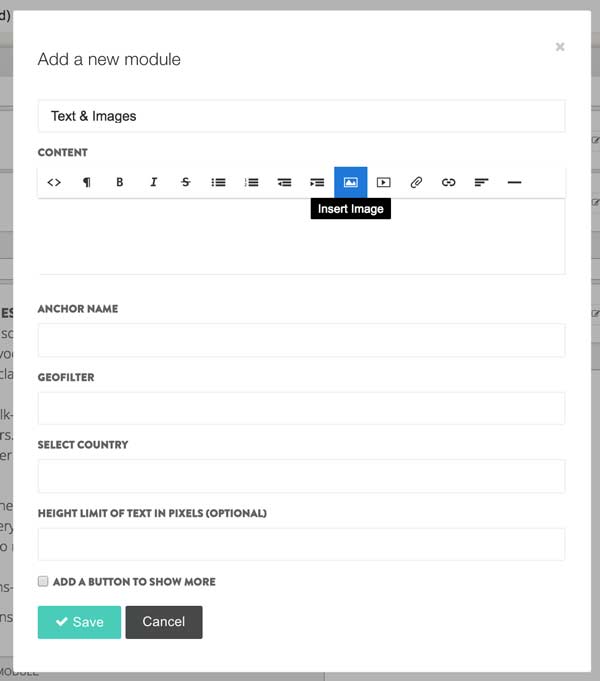
You can drag the image into the image box directly from your website, or click 'choose' to select an image you have already uploaded.
The image selected will pop into the content module.
Resizing Images
Resizing an image in a content module is easy: It's simply a question of dragging the corner of the image.
Click on the image - a little black 'edit' button will appear, as well as a handle on the bottom right of the image.
Click on the handle and drag the image into your desired size.
Save.
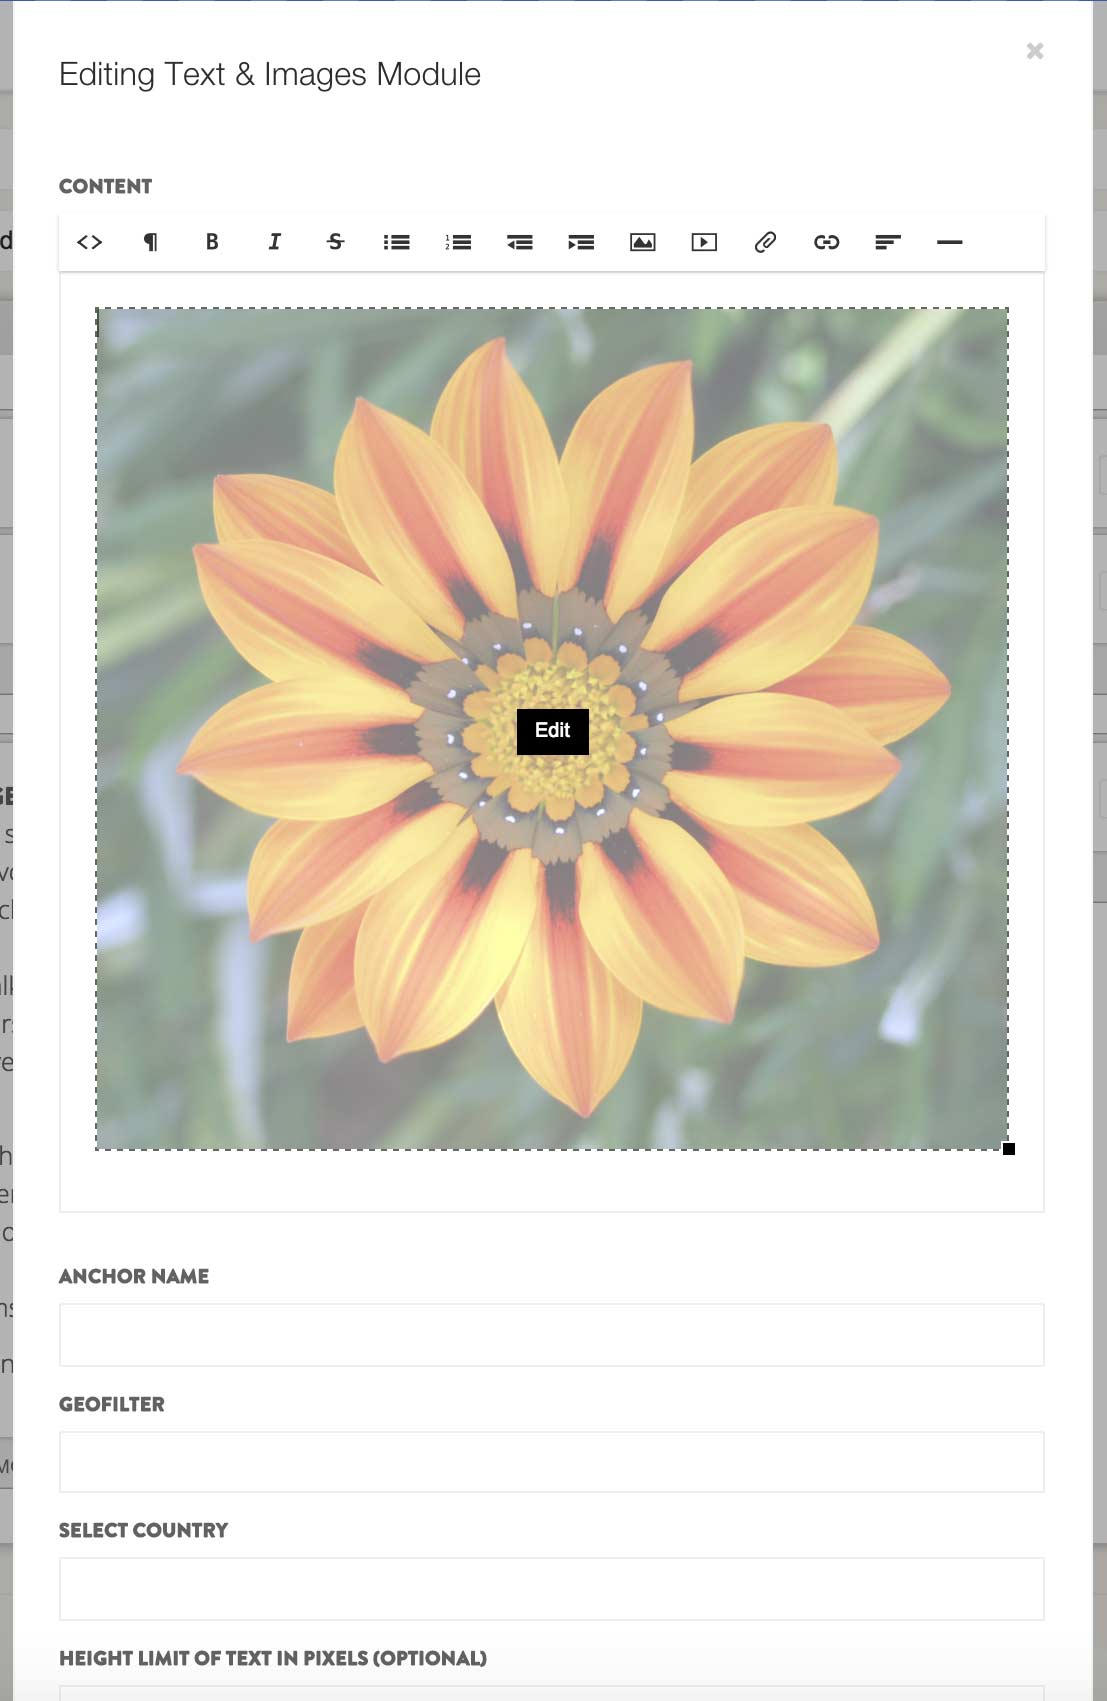
IMAGE SETTINGS
Once your image is inserted, you can work with the settings by clicking on the image, and clicking on the little black 'edit' button.
This opens a dialogue box.

Here you can give your image a title (for SEO)
You can assign a link to the image (when the image is clicked on your site it will open this link)
And you can positiion the image in the content module. If you select 'left', for instance, the image will nest to the left of any text. If you choose 'right', the image will next to the right of any text. If you choose 'middle', the image will be centered, with text above and below it.
Reviewed: April 2020
Continue reading -
Introduction to Page Editing: Layout and Navigation
Your Assemble page is a thing of wonder. In every page there are countless options for layout, content modules and formatting. You can also set where the page appears in the navigation bar.
In your Assemble dashboard, visit Content -> Webpages
This takes you to your pages editor. Locate the page you wish to edit, and click the green 'edit' button.
This will take you to your individual page editor.
PAGE LAYOUT OPTIONS
Every page has an astounding number of layout options.
To access those options, simple click the 'Choose Layout' box at the top of your page, and select an option from the drop down list.
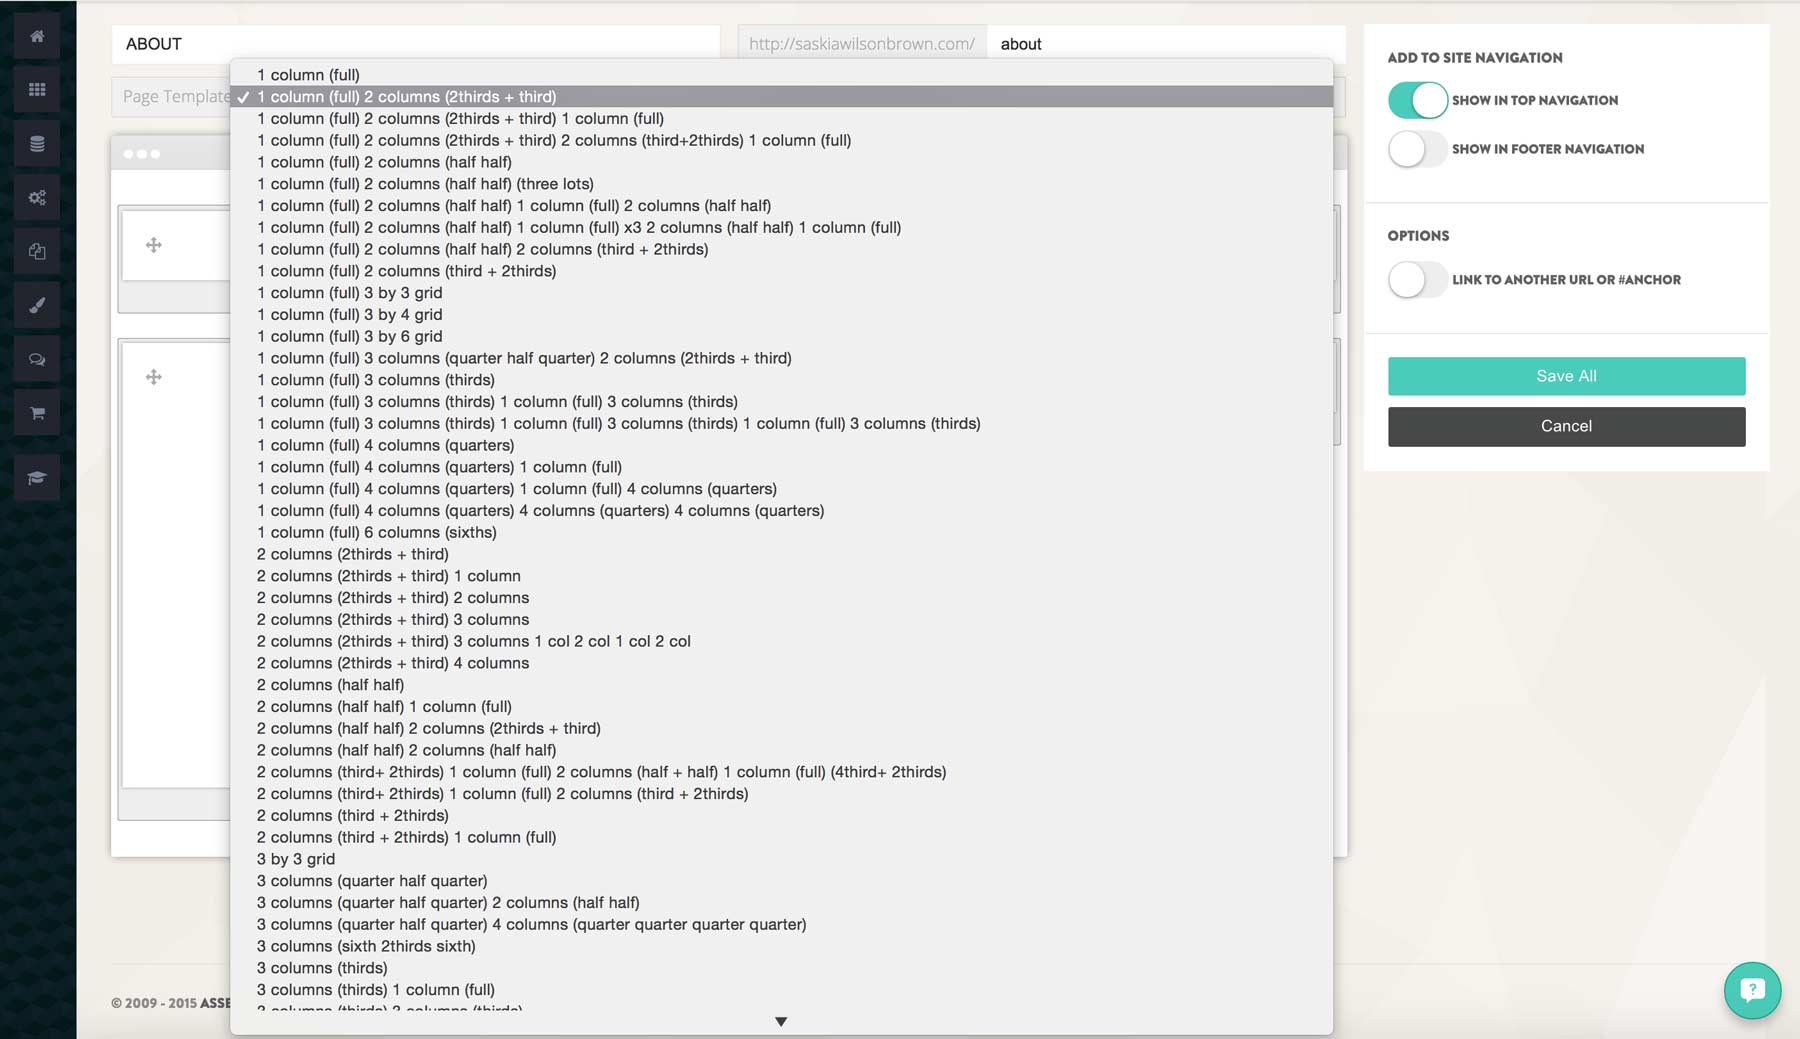
Select the layout that you prefer, and the content modules will reshuffle to match the layout.
Then, simply add the content (see the help topic on content modules)
NAVIGATION
The next step is to decide where the page appears on your website.
On your individual page editor, you will see several options on the top right.
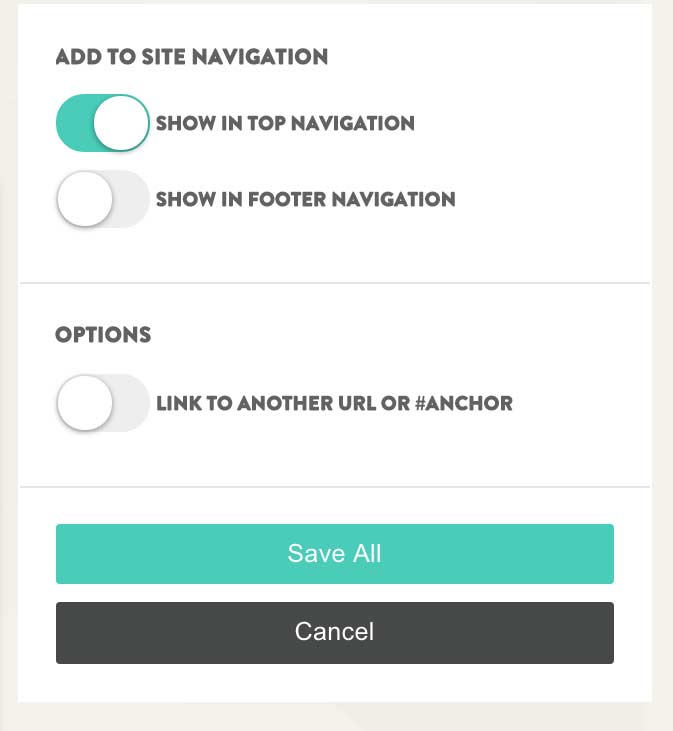
Show in top navigation bar: When ticked, the page will appear as a navigation item in your primary navigation bar on the website.
Show in footer navigation: This will move the page's navigation link to the secondary navigation bar on the website - great for 'press' sections, or 'contact'
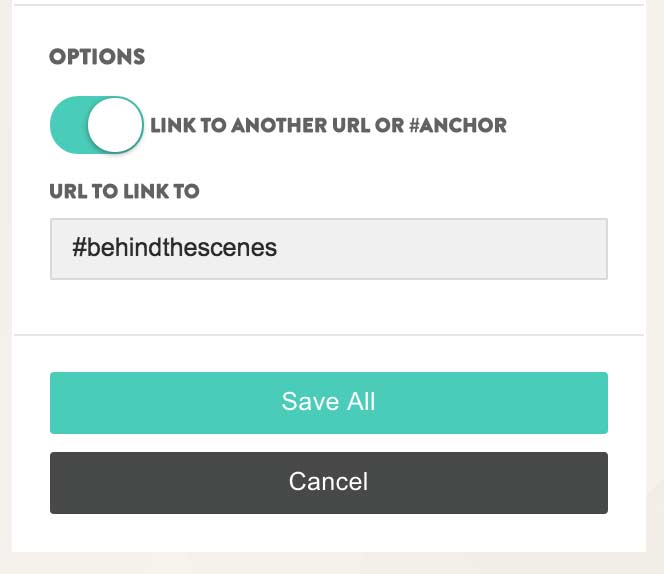
Link to another URL or anchor: When ticked, you will have the option to create an 'external' link, or to link the page to an #anchor.
- If you create an external link (eg. http://www.google.com) the page item in the navigation bar will link to to an external website.
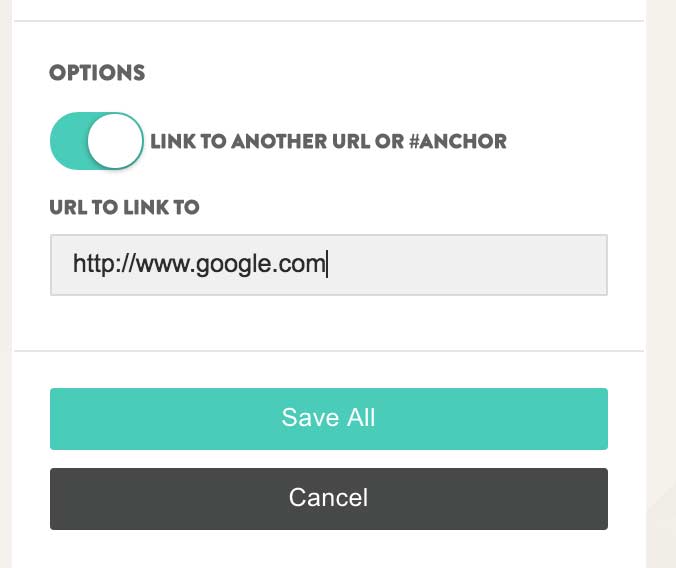
- If you create an anchor link (ex. #behindthescenes), the page item in the navigation bar will link to the corresponding content on your website (which you can set by adding an anchor to a content module).
Reviewed: April 2020
Continue reading -
Adding, Deleting or Editing a Webpage
In the left hand navigation bar on your Assemble dashboard, visit Content -> Webpages
This brings you to your main pages editor dashboard.
To Add a Page
To add a new page, click the 'New Page' button at the top of the pages dashboard. This will bring you to your individual page editor, where you can title the page, add content, edit the layout and much more.
Once you are in the page editor, make sure to:
1. Give the page a name
2. Choose to add it to either the top or bottom navigation bar, or both.
3. Save!If you need the page to link to an outside URL, be sure to check the 'Forward to External Link' box and paste in the link.
You can learn more about editing content in the help topics.
To Delete a Page
Simply click 'delete' in the pages editor next to the page you want to permanently remove. This will get rid of the page, and all its content. If you simply want to disable the page without losing all the content, you can click the on/off switch to the right of the page commands.
To Edit a Page
Simply click edit' next to the page in question. This will bring you to the individual page editor, where you can add content, change the name of the page, change the page layout and much more.
Updated: April 2020
Continue reading -
Adding and Editing Content Modules
In the left hand navigation bar on your Assemble dashboard, visit Content -> Webpages
This brings you to your main pages editor dashboard. Click 'edit' next to the page that you wish to edit, and this will bring you to your individual page editor.
Assemble pages are made up of discrete blocks of content we call content modules. Each content module can contain anything you want, be it a shop, a list of upcoming screenings, an image, a gallery or simple text (and much much more).
Adding a Content Module
To add a content module, simply click the 'add new module' text on the page editor.
This will pop open a new module.
Each module has the capacity to present different types of information-- from simple text to HTML embed codes to a gallery to an email sign up form and more.
To access these options, click the drop down menu at the top of the content module, and select the type of module you wish to activate. There are many module options-- be sure to take a moment to familiarize yourself with them.
Each module represents a row or a column, and you can add as many content modules as you need.
Editing a Content Module
To edit a content module, select the 'edit' button to the right of each module. This will pop the module open, and you can make your adjustments to the module settings, or to text and images.

Note that for many of the modules, information is pulled in from elsewhere on the site. The blog module, for instance, will determine how your blog appears, but will not allow you to edit the blog posts themselves. Most of the editing capabilities are accessible on the left hand navigation bar under 'content'.
List of Available Content Modules:
AWARDS & LAURELS- Use this module to display laurels and awards, as your film wins them
BLOG/NEWS - Displays a list of blog articles (which you can add and edit from your left hand navigation bar, under content -> blog/news)
BUTTON - Creates a nice looking button to load a trailer or a link.
FACEBOOK COMMENTS - Displays a feed of comments from your Facebook page
FORMS - This will allow you to add the Contact Demand it, or Host a Screening forms
HTML - This is where you can add your own html code.
MAILING LIST FORM - This adds the mailing list form to your page. Choose from either the Mini view, which will display only the email input box until you click inside it, and the name and postcode boxes will appear. Standard view will show all three.
GALLERY - This will load the high-res stills (note that you can edit, and load stills from your left hand navigation bar under content -> high-res stills). You can choose to display the Gallery stills, the Press stills, or stills that are tagged (eg 'community'). You can also choose how the stills display (for instance as a list, as a slideshow and more).
PRODUCTIONS - This will show all production sites in a type of list or gallery for a production or distribution company. You can choose how the productions display, here, as well.
PRESS REVIEWS - This will display all reviews entered into the Reviews app (content -> press reviews). You can also select how the display.
SCREENINGS - This will display the screenings (which you can add or edit under content -> screenings). Choose to display either past or upcoming screenings, choose which types of screenings, choose what geo-filter you want, give the block a heading, and lastly choose whether it will display is a table of rows or in a large list with buttons.
WEBSTORE - This will display your shop products (which you can edit under webstore -> products), as well as how they display on the page.
SOCIAL FEEDS - This will display the social media feeds. Choose from either Twitter or Facebook. Make sure you have installed them both in the Plug-in settings
SPECIAL DESIGN MODULES- These are special advanced modules which include a slider (up to 3 slides with images and text), a news bar and 3 types of parallax effects for design.
TEXT & IMAGES - The most commonly used content module: This is the module you would use in order to add text to the site (eg synopsis, bios) and images.
TRAILER - This will load the trailer app, which will display the trailer in various options (note that to add the trailer to the trailer app, visit content -> trailer). This module allows you to set whether the trailer loads directly the page or in a lightbox. Additionally it can load simply the video embed (direct from Vimeo) or the Trailer Widget.
Make sure to save each module once you are finished editing it, then save the page once you are done editing the content as whole.
Updated: April 2020
Continue reading -
Page Order and Visibility
Managing the pages on your website is a piece of cake with Assemble: From your dashboard you can decide on the order of your pages with our simple drag and drop interface., You can also turn them on or off.
In the left hand navigation bar on your Assemble dashboard, visit Content -> Webpages
This brings you to your main pages editor dashboard.
To Reorder Your Pages + Menu
Simply grab the page and drag it to its new location.
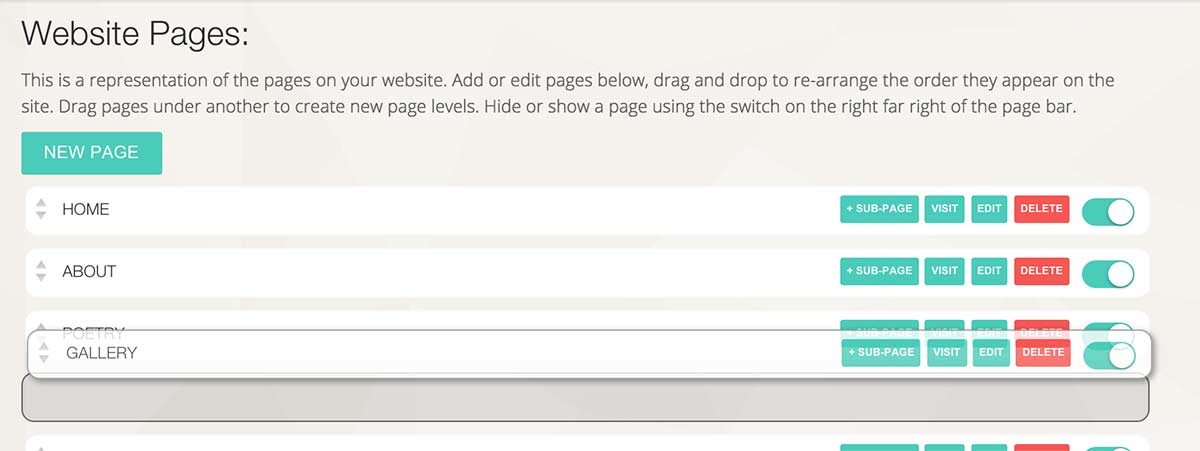
It will now appear in this order in your navigation bar.
To create a submenu, drag the page under the main menu item.
Don't forget to click 'save'.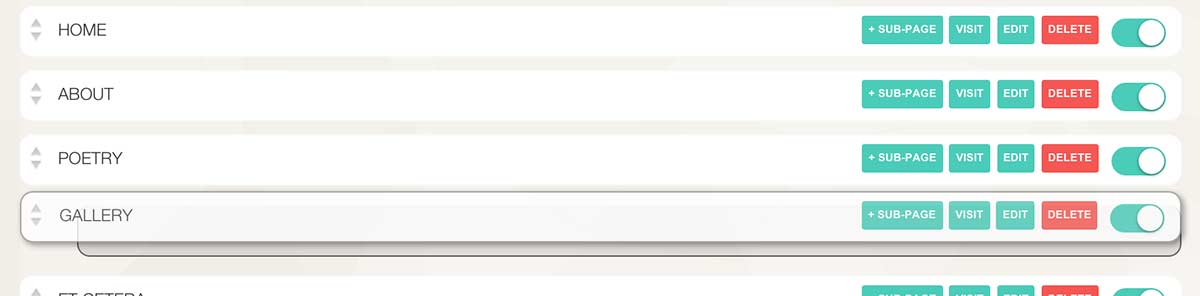
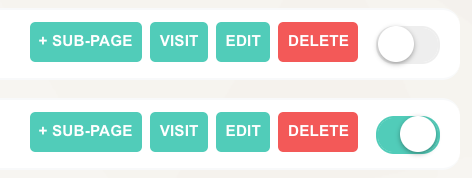
To turn off a page
On the right of each individual page, you will see a toggle button

If the green is showing, that means that the page is live. To turn off a page without deleting it, simply flip the switch. This will save your page and all its contents, while deactivating it on the website.
Continue reading
