-
Sending an Email Blast
Assemble allows you to email your audience with an easy to use email blaster. In order to do this, however, you must first make sure that the ‘Email Sender App’ is installed.
In the left hand navigation bar on your Assemble dashboard, visit Audience -> Mailouts
This is where you will create new emails, as well as track old ones.
To create a new email blast
Click ‘new email’
On the email editor page, you can enter the content for the email blast, including:
The name of the email - for internal tracking (eg. May, 2016 Email Blast)
Your subject (what will appear as the subject line of your email)
And of course the body of the content.On this page you can also decide who you want to send the email to (based on your segments).
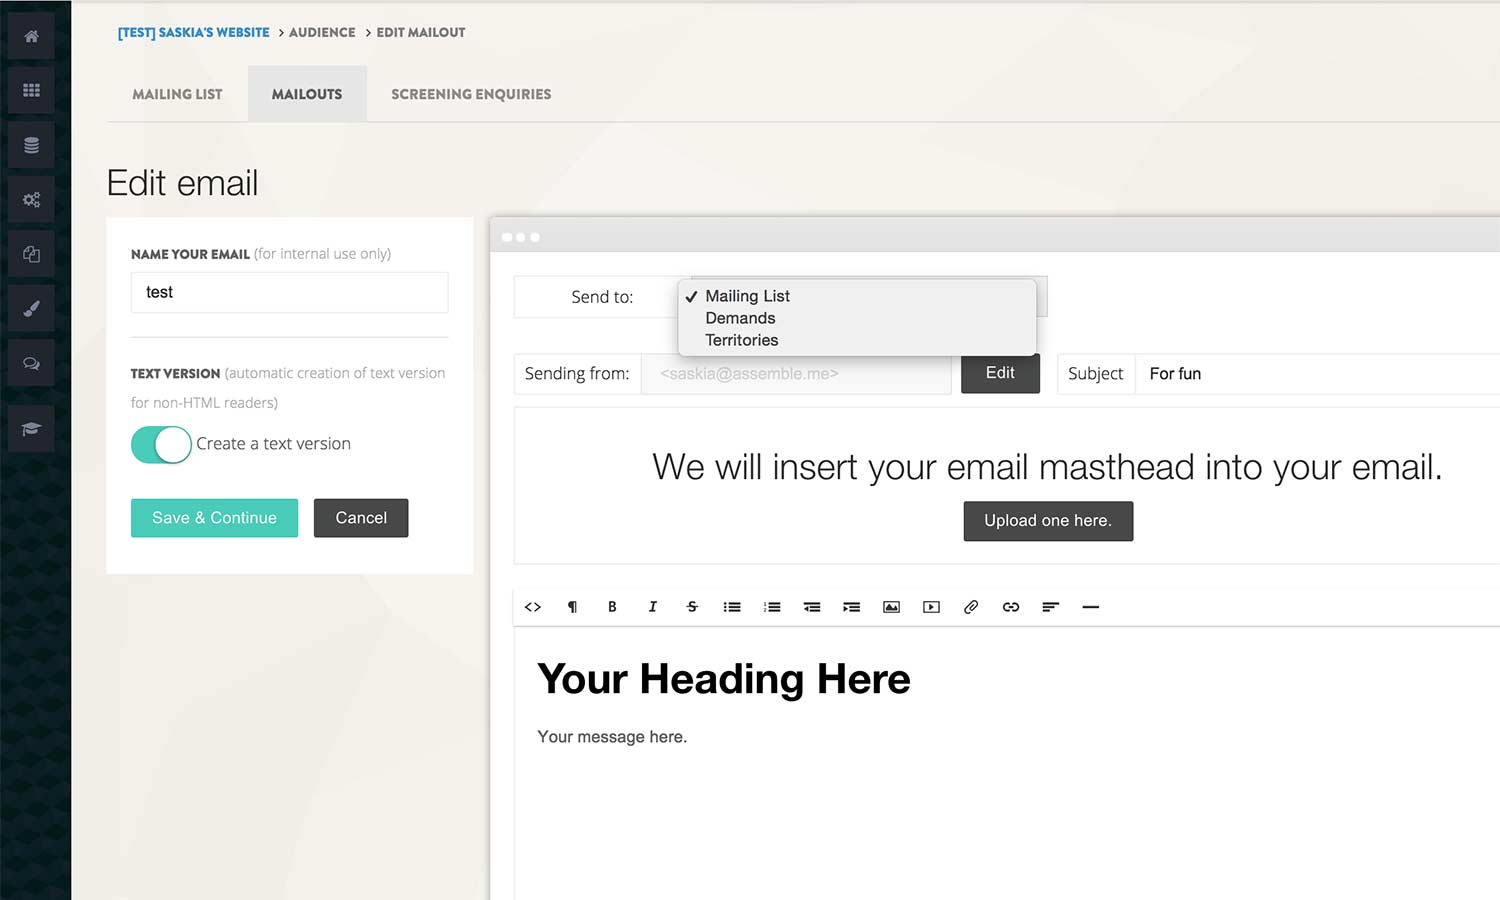
You are also able to upload an email masthead image - a great opportunity to showcase your production logo.
To upload an email masthead image:
Click the upload button
This will take you to your design editor, where there is a section entitled ‘email’.
You can upload the image here!This image will show at the top of emails you send to your audience. An image width of 600px is the sweet spot. - .jpg .gif .png files only - 500K max file size.
A few tips on your email content:
Make sure images are saved for web so they don’t take ages to load
Keep the formatting simpleReviewed: April 2020
Continue reading -
Setting up a Mailing List
There are several ways to set up a mailing list on Assemble.
I. USING ASSEMBLE
Assemble allows you to capture emails, maintain a mailing list, and send email blasts.
CAPTURING EMAILS
To capture emails on your website, you must add an Mailing List Form into a content module on the page where you want it to appear.
- Visit your pages editor: In the left hand navigation bar on your Assemble dashboard, visit Content -> Webpages
- Select 'edit' next to the page where you want the email capture form to appear
- Add a new content module
- In the pop-up content module editor, select 'Mailing List Form' from the list of options.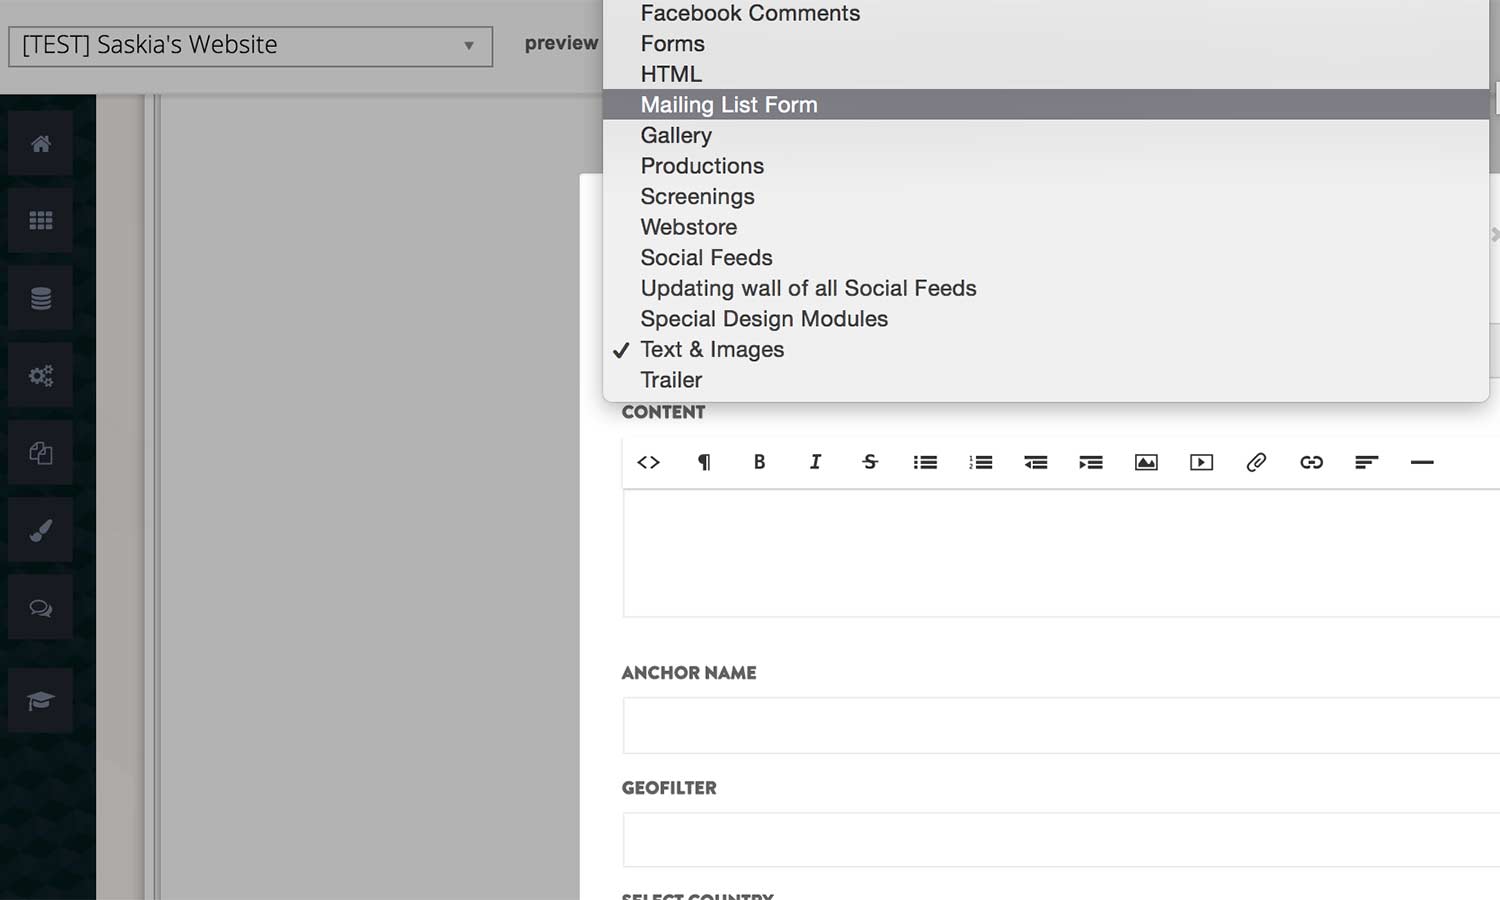
- Customize the header, and how you want the Mailing List Form to display (mini or standard)
- And save!
II. USING AN EXTERNAL PLATFORM SUCH AS MAILCHIMP
In order to set up an email capture tool on Assemble with your Mailchimp account (or any other external platform), you need to acquire the code for the email signup form and then enter it into your Assemble settings.
To find the form code on Mailchimp:
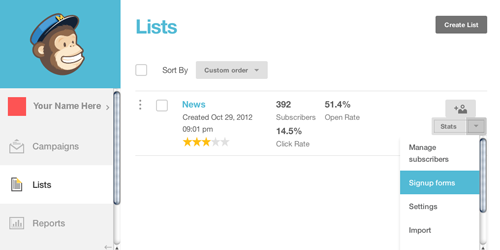
1. Visit Mailchimp.com and go to your 'lists' tab'. Select 'Signup forms' in the drop down menu.
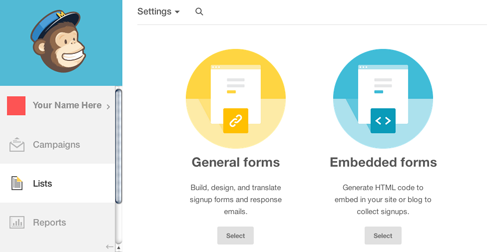
2. In the Signup Forms section, click 'Embedded Forms'
3. Select 'Naked' in the Embedded Form Code Options

4. Copy your code.
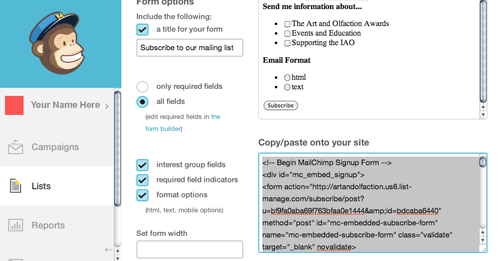
To enter the code into Assemble:
In the left hand navigation bar on your Assemble dashboard, visit Apps and Integrations -> Website Settings
On your Website Settings page, you will see a window for the embed code from Mailchimp (or other services).
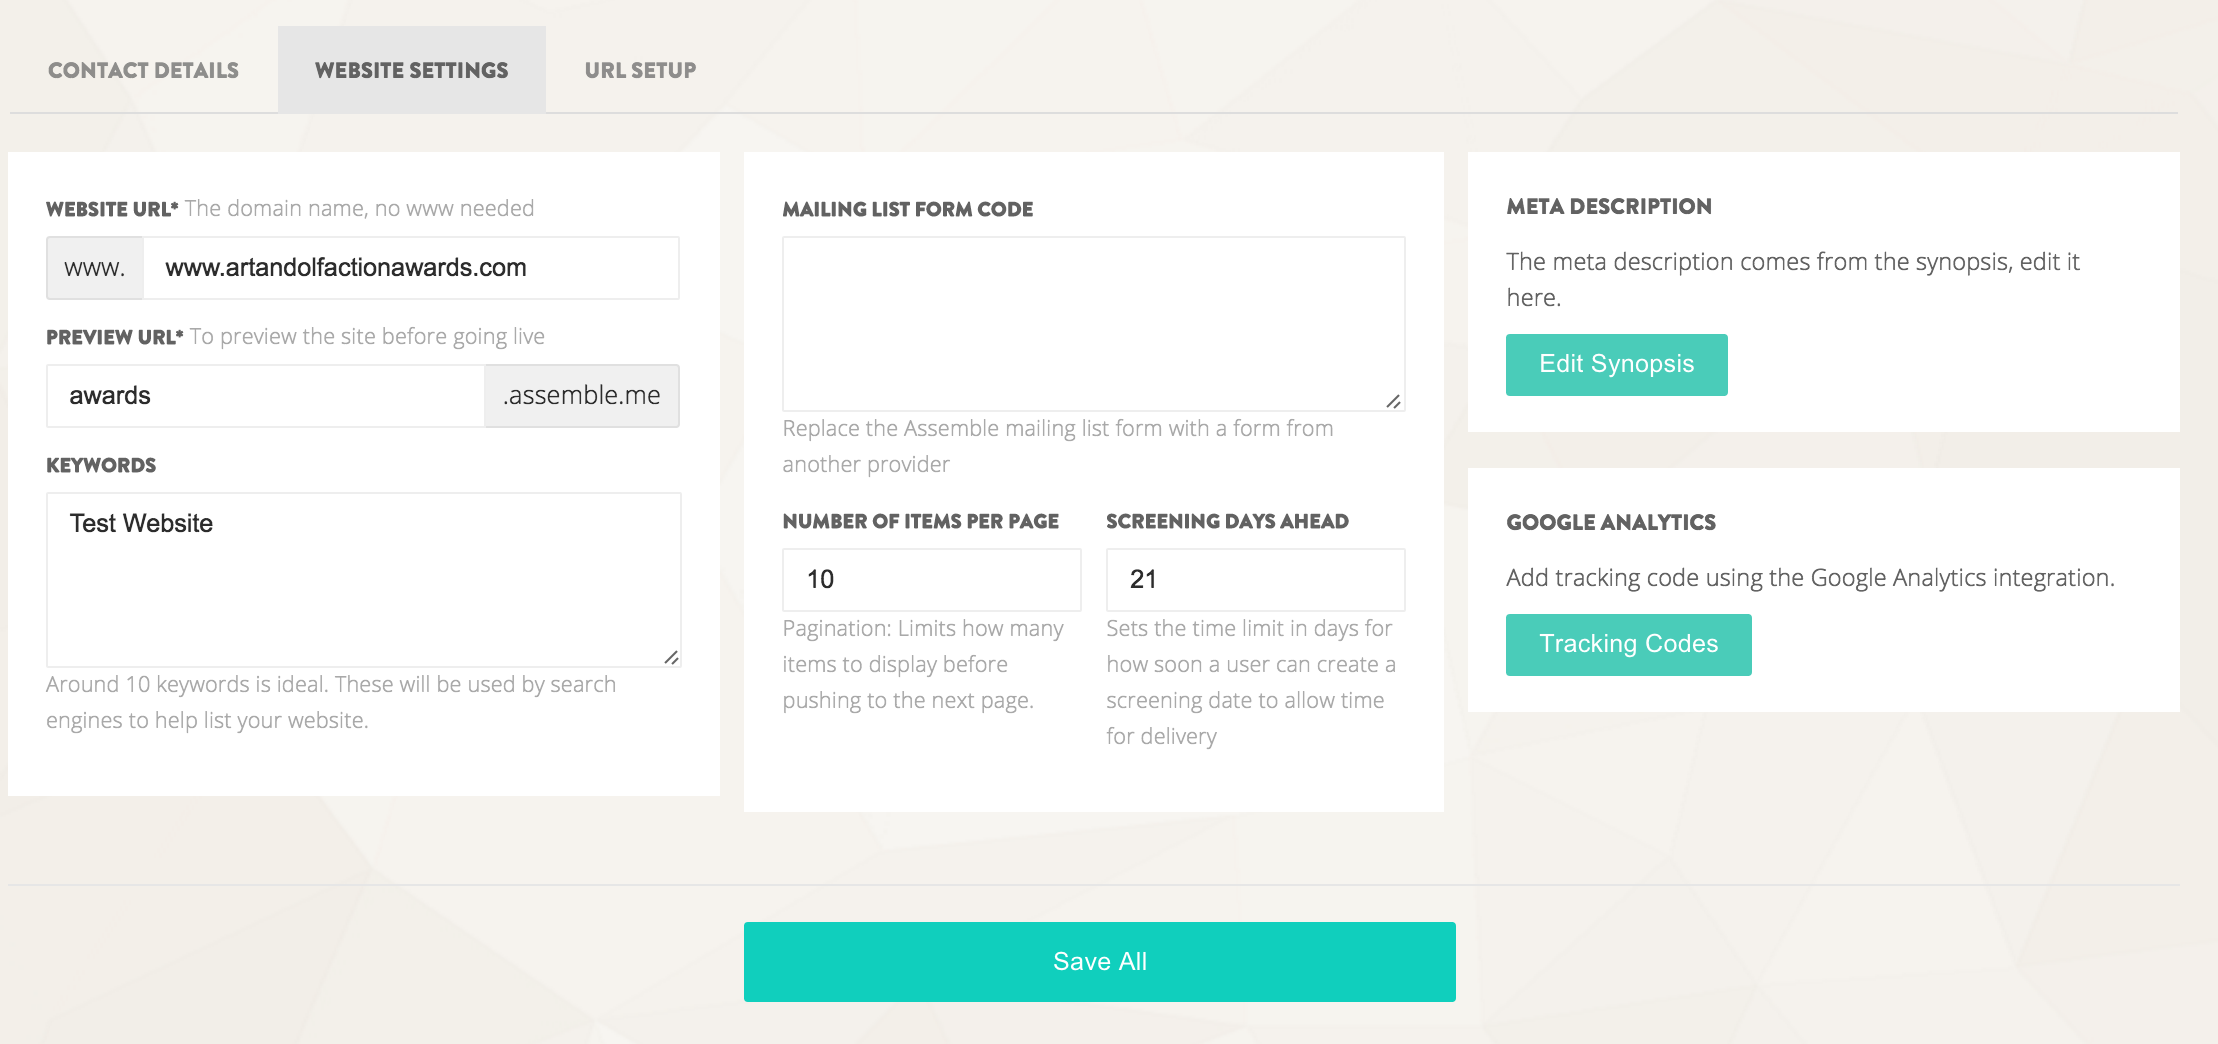
Simply paste the embed code into the 'Mailing List Form Code' box, and save.When this is done, every time you add a 'Mailing List Form' to a content module, it will pull your Mailchimp form code, and emails entered will go directly to your Mailchimp account.
Reviewed: April 2020
Continue reading -
Viewing and Exporting Audience Data
To view the email signups through your Assemble signup widget:
1. Select the Mailing List option under the Audience side menu.
2. You can now view all of your sign-ups and their email addresses.

To export the mailing list sign up data
1. Select the Mailing List under the Audience side menu.
2. Then click Export Emails on the right side of the screen
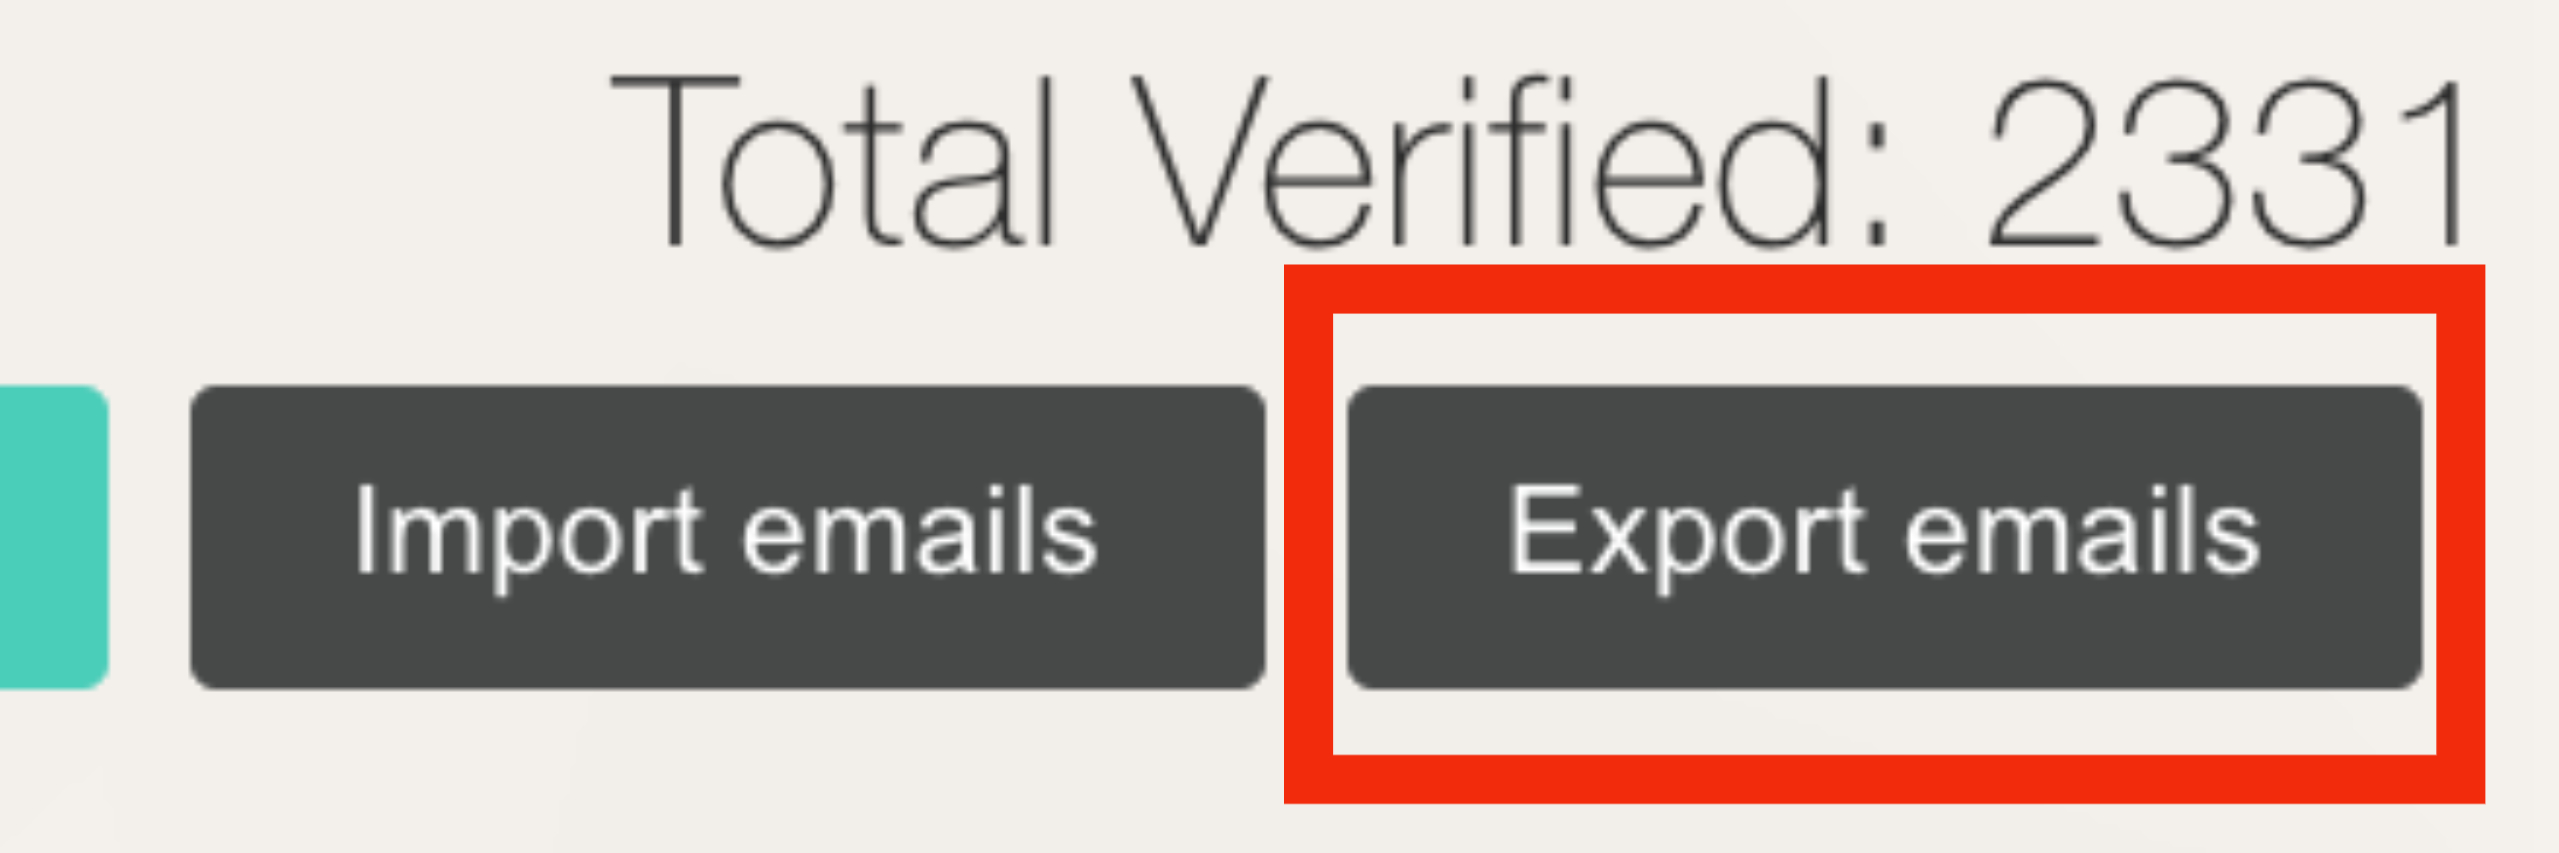
3. Assemble will automatically download the data to your computer as an Excel spreadsheet.
4. You can then import the data from the Excel Spreadsheet into your mailing list service of choice (eg Mailchimp, Constant Contact, etc).
Note: If you are using Mailchimp, you are able to integrate it with Assemble so you grab emails straight from Assemble.
Updated: April 2020
Continue reading


