
-
Add a Blog and Blog Post
Assemble allows users to add a blog to their site. This is a two part process: 1. Adding blog posts and 2. Making sure the blog appears in a page on the site.
Adding Blog Posts
Make sure your blog app has been installed (Settings -> Apps and Integrations)
Visit Content -> Blog/News
This will bring you to your blog editor, where you can add, edit, delete posts.
Select “Add Post” to add a new review.
Add the blog title at the top
Input the blog post information (a note that copying and pasting from a word doc or another website often creates formatting issues: Best to paste the text into a simple text editor, save as plain text, and then paste the text into the blog).
Our blog requires you to create a category for each post. To add a category, you can add it on the right hand side information bar. After adding the categories, do not forget to tick one as the category for this particular post.
Likewise, before publishing, you will need to tick the post to 'publish' at the top of the right hand content editing bar.
There, you can also add a 'featured' image for the blog, which will show up with the blog title on your blog's main page (but not in the individual post).
Adding a blog category using the green 'edit categories' button
On the top right hand side of your blog pages, you will see a green 'edit categories' button
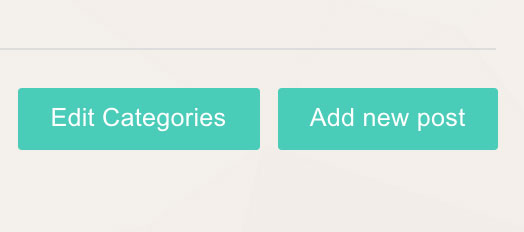
Upon clicking the button, you will be taken to your categories editor page, where you can add new categories, and edit existing ones. The categories you set here will automatically show up on your blog post editing pages.
Adding the blog functionality to your pages
Next you need to turn the Blog page on. To do that, you will need to add the blog app into a content module on the page where the blog will appear.
Visit Content -> Web Pages
Select edit next to the page in which you wish the blog to appear, or click 'new page' to create a new separate page for the blog.
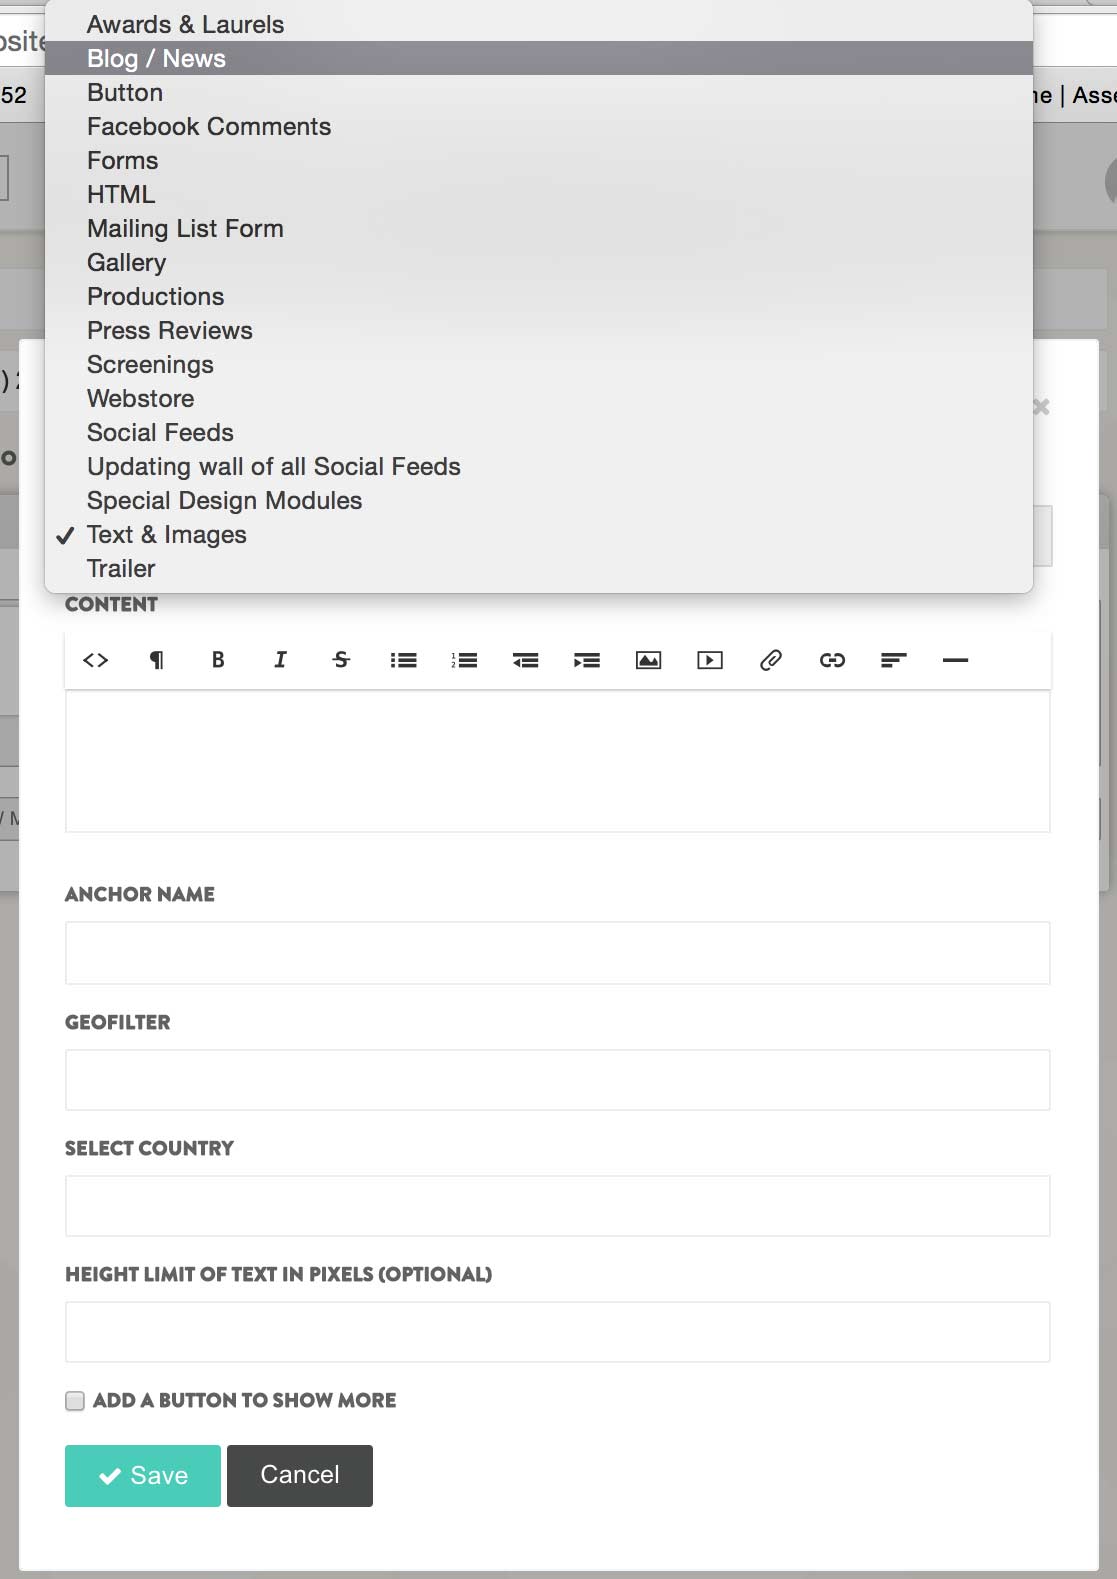
Create a new content module by clicking 'Add New Module'
Select 'blog/news' in the drop down module editor
Blog settings:
In the blog content module editor, you can adjust the settings of how the blog appears on your blog page.Options include:
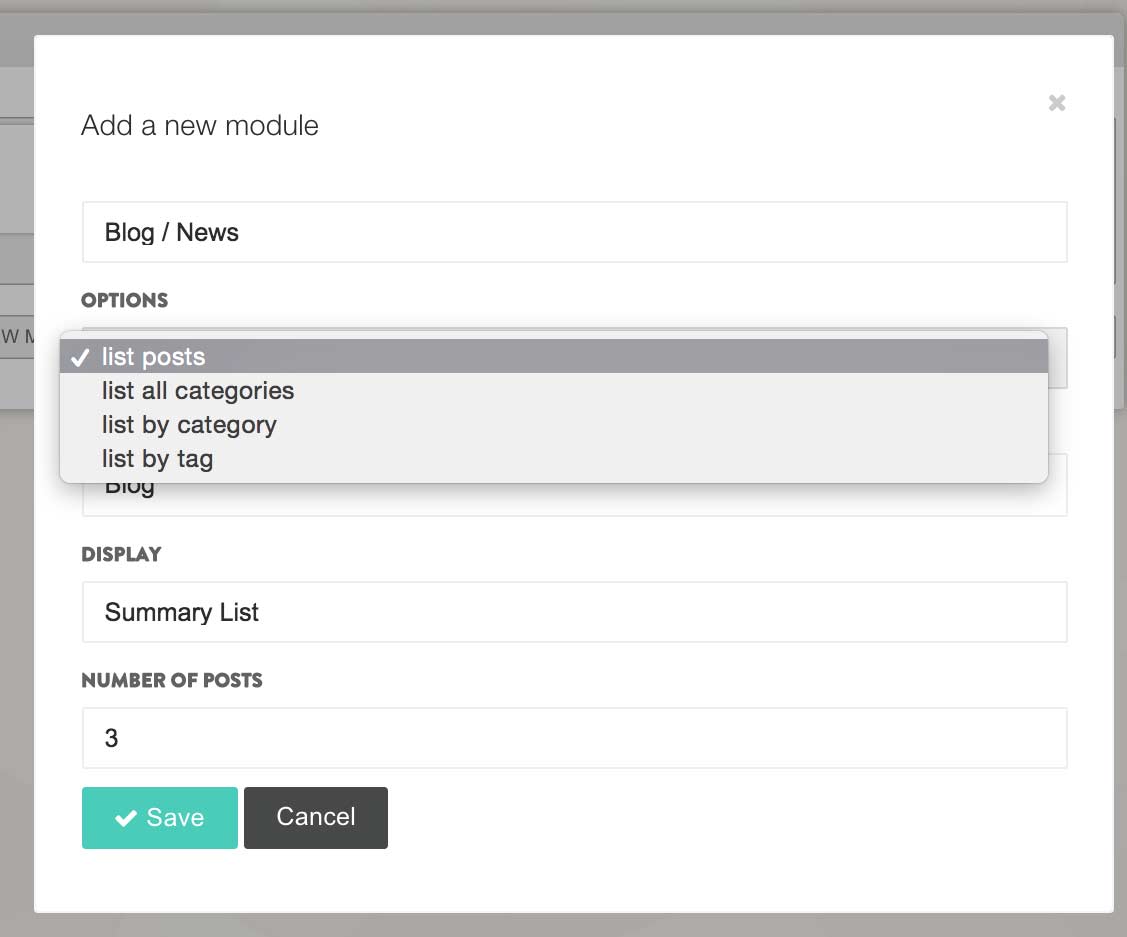
Options: This is where you decide what to list.
- List posts
- List all categories
- List by category (will list posts assigned to the category of your choosing)
- List by tags (will only list posts assigned to the tags of your choosing)Header: This is where you assign a title to your blog. It can simply be 'Blog', or more complex like 'Notes from Set'.
Display: This is where you decide how your posts will display.
- Summary List: A summary of the post, listed one above the other
- Summary Row: A summary of each post, listed in rows
- Full List View: Lists all blog texts in order they were postedNumber of Posts: This is where you decide how many posts you wish to appear on your blog page without pagination.
PRO TIPS: Working with Blog Posts
- Make sure to change the Publish Status to Publish before you save if you want your post to go live to your site.
- Editing the blog Categories (accessible by the big green button on the top right hand side of your individual blog post editor) is a great way to group all relevant posts together. you must select a category for your blog post in order for it to go live.
- Make sure images uploaded to the blog section are sized for web, and all sized in a consistent manner.Updated: May 2020
Continue reading